How to Set Up a Python Package
Introduction
Creating a Python package is an essential skill for any Python developer. It allows you to organize your code, make it reusable, and share it with others. In this post, we’ll go through the process of setting up a Python package step by step.
Setting Up the Package Structure
-
Create a new directory for your package:
mkdir my_package cd my_package -
Create the following file structure:
my_package/
├── my_package/
│   ├── __init__.py
│   └── main.py
├── tests/
│   └── test_main.py
├── README.md
├── LICENSE
└── setup.py
Writing setup.py
The setup.py file is crucial for packaging your project. Here’s a basic example:
from setuptools import setup, find_packages

setup(
    name="my_package",
    version="0.1.0",
    packages=find_packages(exclude=["tests"]),
    install_requires=[
        "dependency1",
        "dependency2",
    ],
    author="Your Name",
    author_email="your.email@example.com",
    description="A short description of your package",
    long_description=open("README.md").read(),
    long_description_content_type="text/markdown",
    url="https://github.com/yourusername/my_package",
    classifiers=[
        "Programming Language :: Python :: 3",
        "License :: OSI Approved :: MIT License",
        "Operating System :: OS Independent",
    ],
    python_requires=">=3.7",
)
Managing Dependencies
List your package dependencies in the install_requires parameter of setup(). For development dependencies, you can create a requirements.txt file: In requirements.txt, you can write like below.
# Image processing and visualization
opencv-python # or opencv-python-headless
matplotlib

# LangChain and related libraries
langchain
langchain-core
langchain_openai
langchain_anthropic
redis
python-dotenv

# Database
mysql-connector-python

# Additional requirements
numpy
# torch # (Need to check the Jetpack version if on Jetson)
openai
anyio
pydantic
scipy
Version Control with Git
-
Initialize a Git repository:
git init -
Create a
.gitignorefile:__pycache__/ *.pyc *.egg-info/ dist/ build/ .pytest_cache/ -
Make your first commit:
git add .
git commit -m "Initial commit"
Building and Publishing
-
Install build tools:
pip install build twine -
Build your package:
python -m build -
Upload to PyPI (ensure you have an account):
twine upload dist/*
Installing Your Package
Once published, you can install your package using pip:
pip install my_package
For development or to install from GitHub:
pip install git+https://github.com/yourusername/my_package.git
Updating Your Package
- Update your code and increment the version number in
setup.py. - Rebuild and republish:
python -m build
twine upload dist/*
To update an installed package:
pip install --upgrade my_package
Or for a GitHub-installed package:
pip install --upgrade --force-reinstall git+https://github.com/yourusername/my_package.git
Automating Package Publishing with GitHub Actions
To automate the process of publishing your package to PyPI whenever you push a new release, you can use GitHub Actions. Here’s how to set it up:
- Create a
.github/workflows/publish.ymlfile in your repository:
name: Publish Python Package

on:
  release:
    types: [created]

jobs:
  deploy:
    runs-on: ubuntu-latest
    steps:
    - uses: actions/checkout@v2
    - name: Set up Python
      uses: actions/setup-python@v2
      with:
        python-version: '3.x'
    - name: Install dependencies
      run: |
        python -m pip install --upgrade pip
        pip install build twine
    - name: Build and publish
      env:
        TWINE_USERNAME: __token__
        TWINE_PASSWORD: $
      run: |
        python -m build
        twine upload dist/*
This workflow will trigger whenever you create a new release on GitHub. It sets up Python, installs the necessary dependencies, builds your package, and uploads it to PyPI using the credentials stored in GitHub Secrets.
- Store your PyPI API token as a secret in your GitHub repository:
- Go to your repository on GitHub
- Click on “Settings” > “Secrets” > “New repository secret”
- Name the secret
PYPI_API_TOKENand paste your PyPI API token as the value
Managing PyPI Credentials with .pypirc
For local development and manual uploads, you can use a .pypirc file to store your PyPI credentials securely. Here’s how to set it up:
- Create a
.pypircfile in your home directory:
[distutils]
index-servers =
    pypi
    testpypi

[pypi]
username = __token__
password = your_pypi_api_token

[testpypi]
repository = https://test.pypi.org/legacy/
username = __token__
password = your_testpypi_api_token
Replace your_pypi_api_token and your_testpypi_api_token with your actual API tokens for PyPI and TestPyPI respectively.
- Set appropriate permissions for the
.pypircfile:
chmod 600 ~/.pypirc
This ensures that only you can read or write to the file.
With this setup, you can easily publish your package using twine without having to enter your credentials each time. For example:
twine upload dist/*
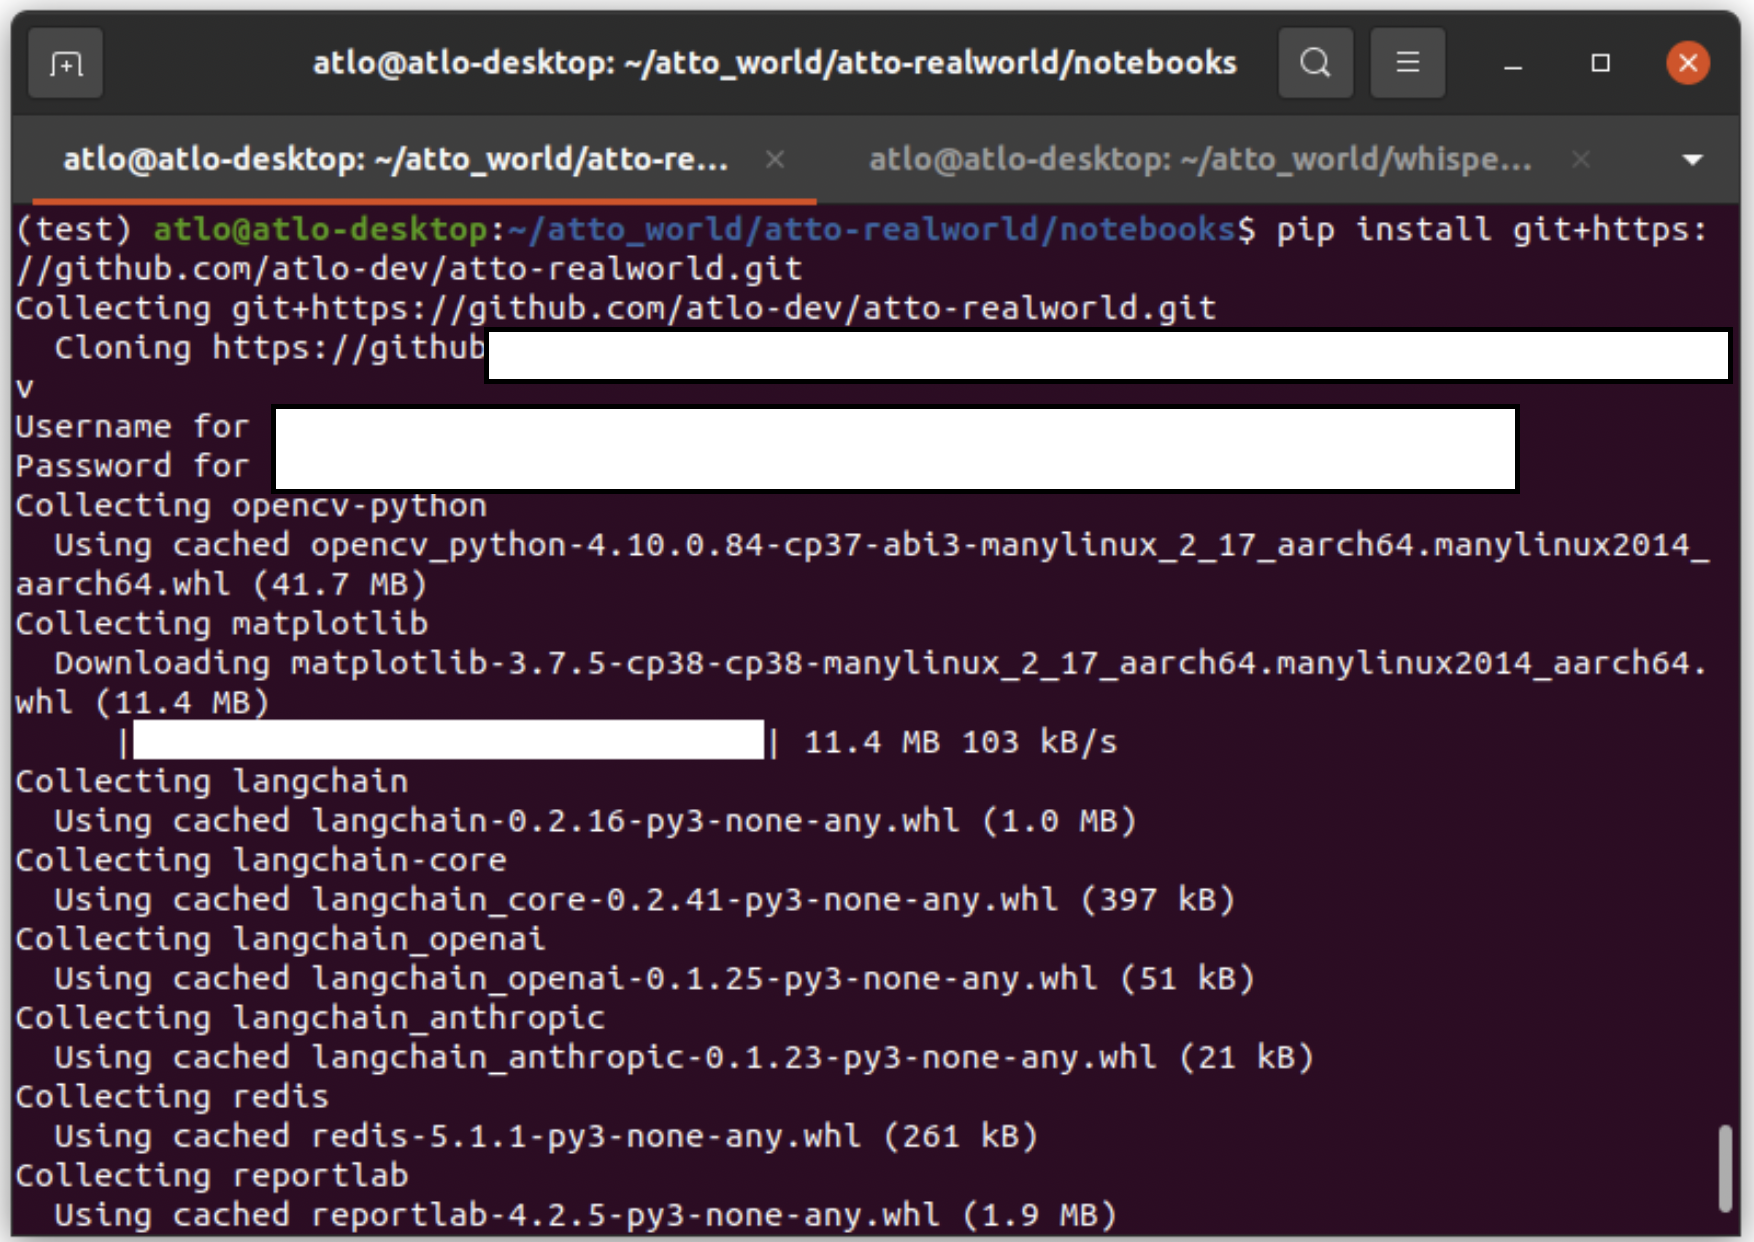
Remember to never commit the .pypirc file to your version control system, as it contains sensitive information. And finally you can see the installed package like below image.

Installed package
Enjoy Reading This Article?
Here are some more articles you might like to read next: